
Home /News /Industry News /How to Make Durable Pad Printing Heads: Manufacturing Process and Quality Control /
How to Make Durable Pad Printing Heads: Manufacturing Process and Quality Control
author: Lulu
2026-08-24
The pad printing head is the core consumable in pad printing, and its quality directly determines print clarity, ink transfer efficiency, and service life. A well-made pad can print tens of thousands of times with stable results, while a poorly made pad may show wear, deformation, or uneven ink transfer after just a few hundred prints. This guide covers the complete manufacturing process and quality control checkpoints.
Step 1: Mold Preparation
Molds are typically aluminum alloy or resin with a smooth, scratch-free, pore-free surface. Clean thoroughly with alcohol or specialized cleaner to remove oil, dust, and residual silicone. Apply release agent evenly, not too much, then wipe gently to form a thin uniform film. Place mold on a level stable surface to avoid uneven pad thickness.
Quality checkpoint: 100% clean surface, thin uniform release agent, horizontal placement.
Step 2: Silicone Ratio and Mixing
Select the right model based on product material and printing needs. Hongye Silicone offers 901 economical, 902 wear-resistant, 912 general-purpose, 916 extra-soft, and 928 addition-cure. Accurately weigh component A and curing agent using an electronic scale rather than estimation. Stir component A well first, then add curing agent and mix thoroughly for 2-3 minutes until uniform with no streaks. Mix at moderate speed to avoid excessive bubbles.
Quality checkpoint: Accurate ratio, uniform mixing, consistent color with no streaks.
Step 3: Pouring and Degassing
Pour slowly from one side, allowing natural flow to cover the entire mold, avoiding direct impact that creates bubbles. Vacuum degas at -0.1 MPa for 3-5 minutes; silicone expands then falls as bubbles are extracted. Degas 1-2 times. Without vacuum equipment, rest 10-15 minutes then use a low-temperature heat gun to blow away surface bubbles.
Quality checkpoint: Slow pour, thorough degassing, no internal pores.
Step 4: Curing and Demolding
Cure at 25°C for 2-4 hours depending on model. Do not move the mold during curing. Demold when the surface is not sticky to touch. Gently peel from the mold edge, gradually removing the pad, avoiding forceful pulling that can tear or deform it. Inspect the surface for smoothness and no defects.
Quality checkpoint: Sufficient cure time, demold when not sticky, gentle removal.
Step 5: Post-Treatment and Pre-Use
Trim excess flash from the pad base with scissors or a blade. Clean the surface with water or specialized cleaner to remove residual release agent. Air dry or wipe clean. Prime the pad with waste ink before first use to achieve uniform ink pick-up. Ensure a tight fit when installing on the pad printing machine.
Quality checkpoint: Clean flash, remove release agent, prime before use.
Common Issues and Solutions
Bubbles on surface: Pour slowly, degas thoroughly under vacuum.
Not curing or sticky: Check ratio, replace curing agent, avoid contact with sulfur, phosphorus, or nitrogen substances.
Too soft or too hard: Select correct model, reduce silicone oil amount.
Uneven ink pick-up: Clean pad thoroughly, check mold surface, adjust ink viscosity.
Quick wear: Use wear-resistant model (Hongye 902), reduce printing pressure.
Hongye Silicone has over 20 years of liquid silicone expertise, offering stable batch quality and full technical support from model selection to process optimization.
Step 1: Mold Preparation
Molds are typically aluminum alloy or resin with a smooth, scratch-free, pore-free surface. Clean thoroughly with alcohol or specialized cleaner to remove oil, dust, and residual silicone. Apply release agent evenly, not too much, then wipe gently to form a thin uniform film. Place mold on a level stable surface to avoid uneven pad thickness.
Quality checkpoint: 100% clean surface, thin uniform release agent, horizontal placement.
Step 2: Silicone Ratio and Mixing
Select the right model based on product material and printing needs. Hongye Silicone offers 901 economical, 902 wear-resistant, 912 general-purpose, 916 extra-soft, and 928 addition-cure. Accurately weigh component A and curing agent using an electronic scale rather than estimation. Stir component A well first, then add curing agent and mix thoroughly for 2-3 minutes until uniform with no streaks. Mix at moderate speed to avoid excessive bubbles.
Quality checkpoint: Accurate ratio, uniform mixing, consistent color with no streaks.
Step 3: Pouring and Degassing
Pour slowly from one side, allowing natural flow to cover the entire mold, avoiding direct impact that creates bubbles. Vacuum degas at -0.1 MPa for 3-5 minutes; silicone expands then falls as bubbles are extracted. Degas 1-2 times. Without vacuum equipment, rest 10-15 minutes then use a low-temperature heat gun to blow away surface bubbles.
Quality checkpoint: Slow pour, thorough degassing, no internal pores.
Step 4: Curing and Demolding
Cure at 25°C for 2-4 hours depending on model. Do not move the mold during curing. Demold when the surface is not sticky to touch. Gently peel from the mold edge, gradually removing the pad, avoiding forceful pulling that can tear or deform it. Inspect the surface for smoothness and no defects.
Quality checkpoint: Sufficient cure time, demold when not sticky, gentle removal.
Step 5: Post-Treatment and Pre-Use
Trim excess flash from the pad base with scissors or a blade. Clean the surface with water or specialized cleaner to remove residual release agent. Air dry or wipe clean. Prime the pad with waste ink before first use to achieve uniform ink pick-up. Ensure a tight fit when installing on the pad printing machine.
Quality checkpoint: Clean flash, remove release agent, prime before use.
Common Issues and Solutions
Bubbles on surface: Pour slowly, degas thoroughly under vacuum.
Not curing or sticky: Check ratio, replace curing agent, avoid contact with sulfur, phosphorus, or nitrogen substances.
Too soft or too hard: Select correct model, reduce silicone oil amount.
Uneven ink pick-up: Clean pad thoroughly, check mold surface, adjust ink viscosity.
Quick wear: Use wear-resistant model (Hongye 902), reduce printing pressure.
Hongye Silicone has over 20 years of liquid silicone expertise, offering stable batch quality and full technical support from model selection to process optimization.
Condensation-Cure GRC Mold Silicone: Core Performance and Wide Applications in Modern Architectural Decoration
Formula Upgrade Optimizes Tear Resistance & Shrinkage Performance for Hand‑Prototype Replica‑Molding Silicone
Related Article
Hongye Silicone updates its global sample delivery workflow to shorten preparation cycle and improve sample‑order service experience for international buyers.
Hongye Silicone Updates Global Sample Delivery Process
Common pad printing head defects including bubbles, blurred patterns, cracking and short life, with causes and solutions from making to usage.Common pad printing head defects including bubbles, blurred patterns, cracking and short life, with causes and solutions from making to usage.
Pad Printing Head Common Defect Troubleshooting Guide
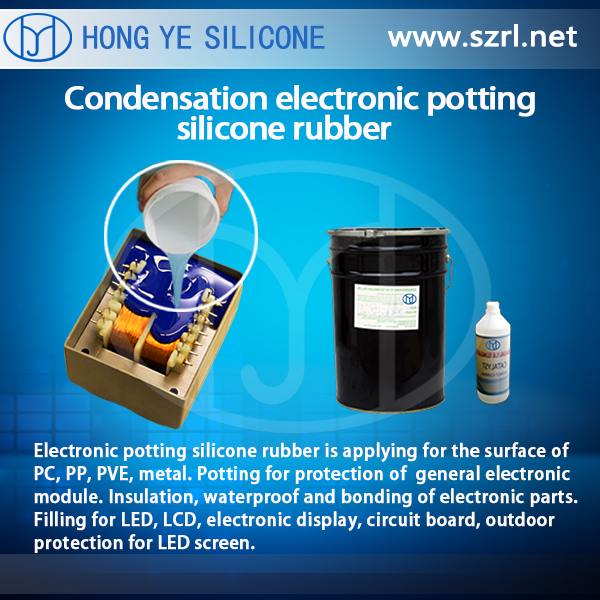
This article examines market trends and demand drivers for optical laser platform vibration isolation gel, including industry growth factors, supplier selection criteria, and global adoption trends.
Optical Laser Platform Vibration Isolation Gel
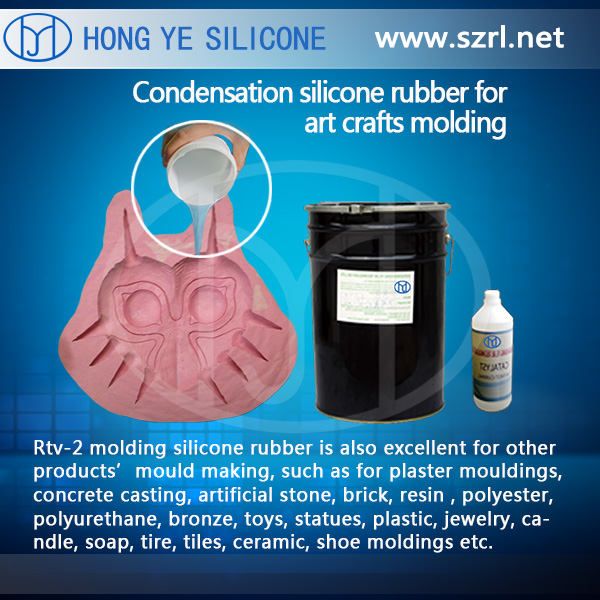
Buddha craft mold silicone is a condensation‑cure RTV‑2 two‑component liquid silicone rubber, specially developed for the reproduction of Buddha statues, religious figurines and detailed sculpture crafts.
Buddha Craft Mold Silicone: High‑Detail RTV‑2 Silicone Rubber for Sculpture Reproduction